
ECL-1227 Blue LED Digital Display Date Temperature Display DIY Electronic Clock Electric Calendar Alarm DIY Kit with Shell
 Politiche per la sicurezza (modificale con il modulo "Rassicurazioni cliente")
 Politiche per le spedizioni (modificale con il modulo Rassicurazioni cliente)
 Politiche per i resi merce (modificale con il modulo Rassicurazioni cliente)
Parameters:
| No. | Parameter | Value |
| 1 | Product name | Electronic Calendar |
| 2 | Model | ECL - 1227 |
| 3 | Display Color | Blue |
| 4 | Working current | ≤90 mA |
| 5 | Product size | 228*160*38 mm |
| 6 | Timing error | ≤ ± 0.5 seconds/day |
| 7 | Working voltage | DC9-12V |
| 8 | Panel language | Chinese / English |
| 9 | Dynamic current | ≤ 160 mA |
| 10 | Net weight | 375g |
| 11 | Temperature error | ≤ ±1 degree |
Features:
1>. 1 inch large digital tube display time.
2>. 0.5 inch digital tube displays calendar and temperature.
3>. English panel displays.
4>. Second real-time display, adding movement.
5>. One-button switch power saving power.
6>. 50 year super long calendar display.
7>. Real-time temperature display.
8>. Elegant appearance.
9>. The function of bell ring is simulated.
10>. 8 alarm clock, 12 birthday reminder.
11>. 12H/24H, Celsius / Fahrenheit can freely switch.
12>. Loud alarm clock horn.
13>. The back is equipped with a bracket and a hole, which can be mounted on the wall.
14>. Power failure memory, automatic backstage after power failure, no need to set up again.
15>. Mimic the sound of a cuckoo bird.
Install tools you need:
1>. Soldering iron
2>. Multimeter
3>. Solder wire
4>. Iron stand
5>. Diagonal cutting pliers
6>. The screwdriver
7>. Tweezers
8>. Long nose pliers
9>. Suction tin
10>. Cleaning sponge
11>. Screwdriver set
Precautions:
1>. Check part values & quantities against part list.
2>. Always meter resistor values before soldering.
3>. Understand all part polarities and orientations.
Electronic calendar setting instruction:
1>. Power on, and press the power switch button. At this time, the screen will display normally and ring the bell, and then any button can stop the bell.
2>. Adjust the calendar and time: On the main interface, press the "ENTER" button once, and the "year" of the calendar flicker. This is the time to adjust the year by pressing the button or the button. If you don't need to adjust the year or after adjusting, press “ENTER” button once again to enter the "month" setting. In the same way, to set the year, month, hour and minutes. After setting, press the RETURN key to return to the main interface or the 20-second button to automatically return to the main interface.
3>. Set the ring bell: On the main interface, press the button once, and then the ring light will be lit.
4>. Set the alarm clock and the birthday alarm clock: On the main interface, press the button to enter the alarm clock and the birthday setting. At this time, the temperature shows the "A1" alarm clock, and the time is displayed :--: --, which means hour and minute. Press again light to go to the next alarm clock, a total of A1-- A8 alarm clock. In this state, press the ENTER button, the alarm clock “hour” is flickering, setting the alarm hour by pressing the button or the button. After the setting, press ENTER to set alarm minute. When the alarm clock is set, the icon of the alarm will be lit, indicating that the alarm clock has taken effect.
5>. Cancel the alarm: On the main interface, press the button to enter the alarm screen that you want to cancel, and then press once to make the current alarm display: --:--. That means canceling the alarm clock.
6>. Set up 12H/24H, and the temperature Celsius/Fahrenheit degree:
Set it on the circuit board, and need to unplugging the supply plug and removing the 3V backup battery. Specific methods are as follows:
Find the 12H/24H jumper welding disc on the back of the circuit board, break it into 24 hours, and short connect it to 12 hours. Find Celsius/Fahrenheit jumper wire welding plate, disconnect Celsius and short connect Fahrenheit.After setting up and short circuit with tweezers. The largest capacitance C7 on the circuit is reset after a few seconds to set the setting into effect and then assemble the shell.
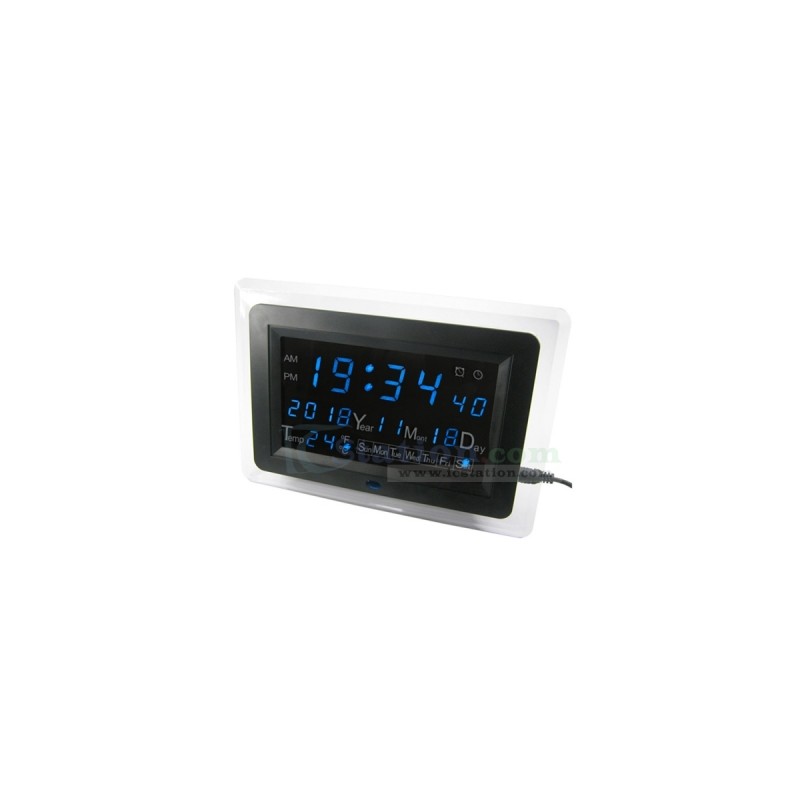
Finished Product Picture:

ECL-1227 Blue LED Digital Display Date Temperature Display DIY Electronic Clock Electric Calendar Alarm DIY Kit with Shell